

Click here to view the tutorial for soap stamper mold replacement
Follow these steps to take apart parts on your soap stamper. Always finish each step before you move to the next.
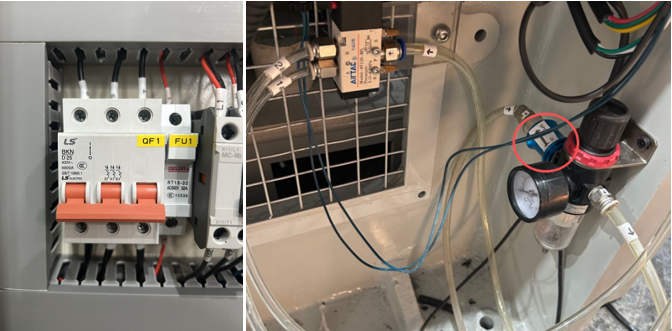
First, isolate electrical and pneumatic circuits on the soap stamper. Turn off the power switch of the soap stamping machine. Close the air valve for the cylinder.
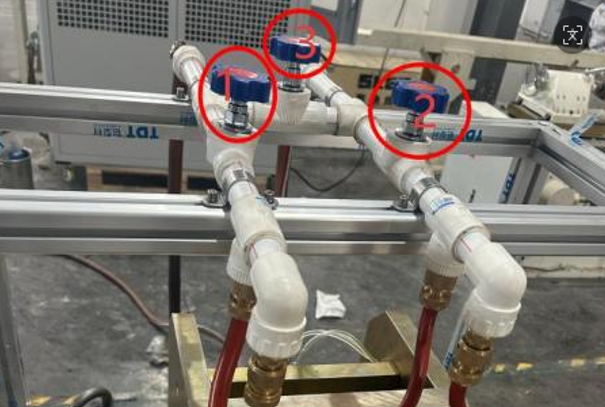
Next, shut down the water circuit. Open the No.3 water control valve. Close the No.1 and No.2 control valves.
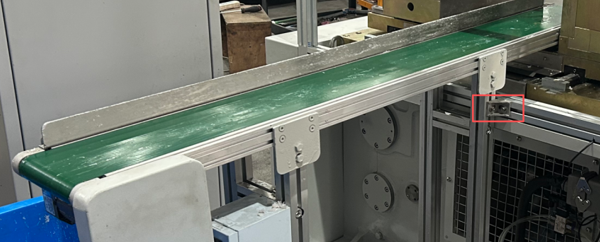
Then, take off the belt conveyor of the soap stamping machine. Loosen all fasteners on the belt conveyor. Move the whole conveyor to one side.
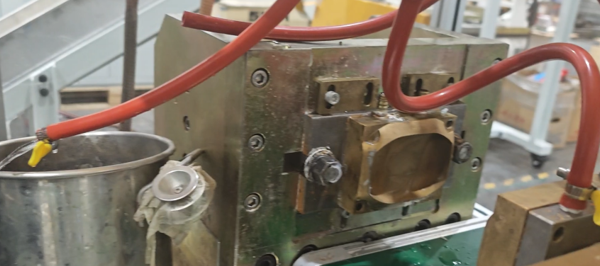
After that, dismantle the refrigeration device. Loosen the connection port of the refrigeration tube. Get a container ready before you pull out the tube. Catch leftover chilled water inside the tube. Important note: This is low-temperature chilled water. It can cause frostbite. Handle it carefully.
Now, make enough working space. Turn the flywheel by hand to clear space for your work on the soap stamper.
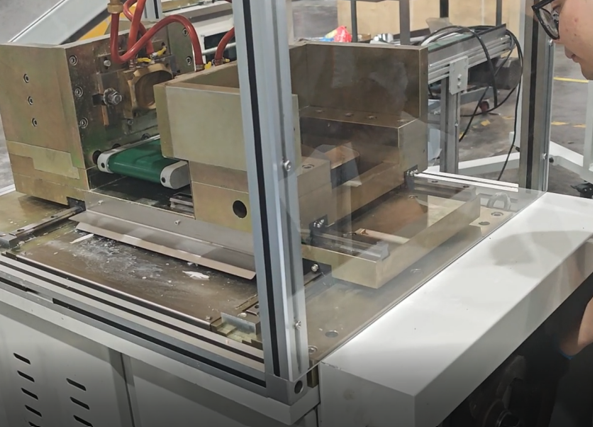
Then remove Mold 1 from the soap stamping machine. Loosen the fasteners for Mold 1. Pull out the fixing shaft. Take out Mold 1. Store all mold shims in a safe place.
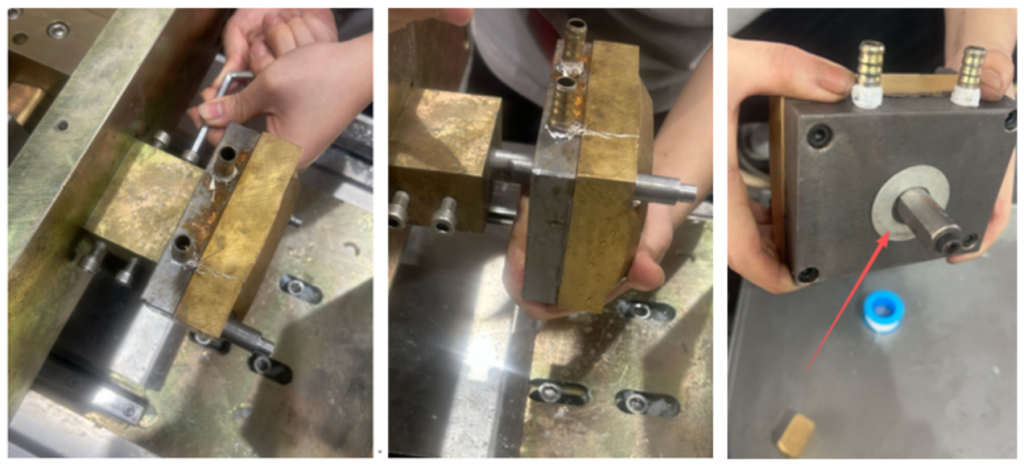
Next, take out the mold core. Remove the four fixing screws from the cylinder. Rotate the cylinder gently. Take off the mold core.
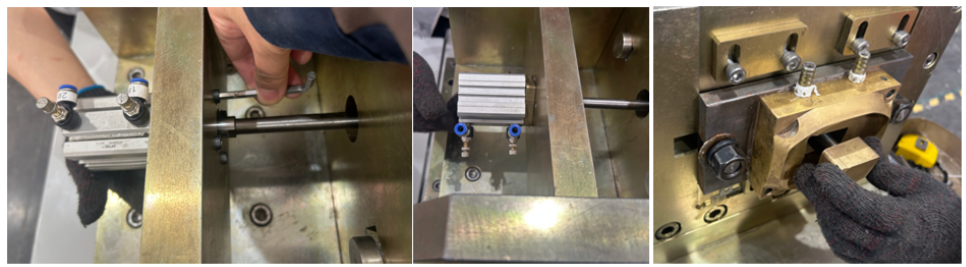
Then remove Mold 2 of the soap stamper. Loosen every fastener on Mold 2. Take off Mold 2. Keep all mold shims safely.
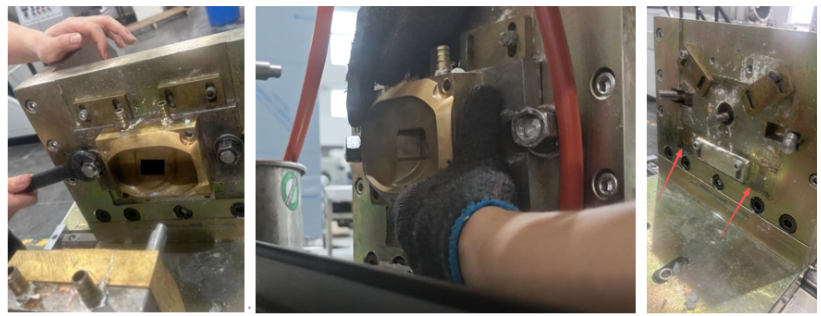
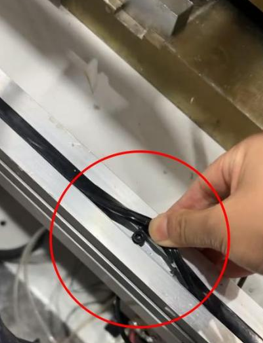
Finally, remove the outer cover of the soap stamping machine. You must finish taking apart the chiller assembly first. Peel away the sealing strip on the outer cover. Remove the four fixing screws. Take down the outer cover.
This disassembly process applies to our standard soap stamping machine.
If you are looking for a reliable soap stamper for your soap factory, view our product page.